How to Install PHP GD in Windows 10/11
Hey there, fellow tech enthusiasts! If you're diving into the exciting world of web development and want to explore the wonders of image manipulation in PHP, you're in the right place. In this step-by-step guide, I'll walk you through the process of installing PHP GD on your Windows 10 or 11 system.
But before we jump into the technical stuff, let's briefly understand what PHP GD is and why you might want it on your machine.
What is PHP GD?
PHP GD is like a magic wand for web developers who want to add a touch of visual flair to their websites. It's a graphics library that empowers you to create and play with images using PHP.
Whether you're building a dynamic photo gallery, crafting custom thumbnails, or simply adding some cool visual effects, PHP GD has got your back.
Why Install PHP GD?
Imagine being able to resize, crop, and enhance images directly from your PHP scripts. That's the power PHP GD brings to the table. It opens up a world of possibilities for creative web design and dynamic content generation.
So, if you're ready to take your web development skills to the next level, let's embark on the journey of installing PHP GD on your Windows machine.
So, let's see install or enable the PHP GD extension on Windows 10 or Windows 11.
- Visit the official PHP website: php.net.
- Click on the "Downloads" tab.
- Choose the PHP version that suits your requirements. It's recommended to download the latest stable version.
- Select the Windows download and choose either the 32-bit or 64-bit version based on your system architecture.
- Once the download is complete, extract the contents of the downloaded ZIP file to a location on your computer, e.g.,
C:\PHP.
Find the php.ini file:
Locate the following line and remove the semicolon (;) at the beginning:
;extension=gd
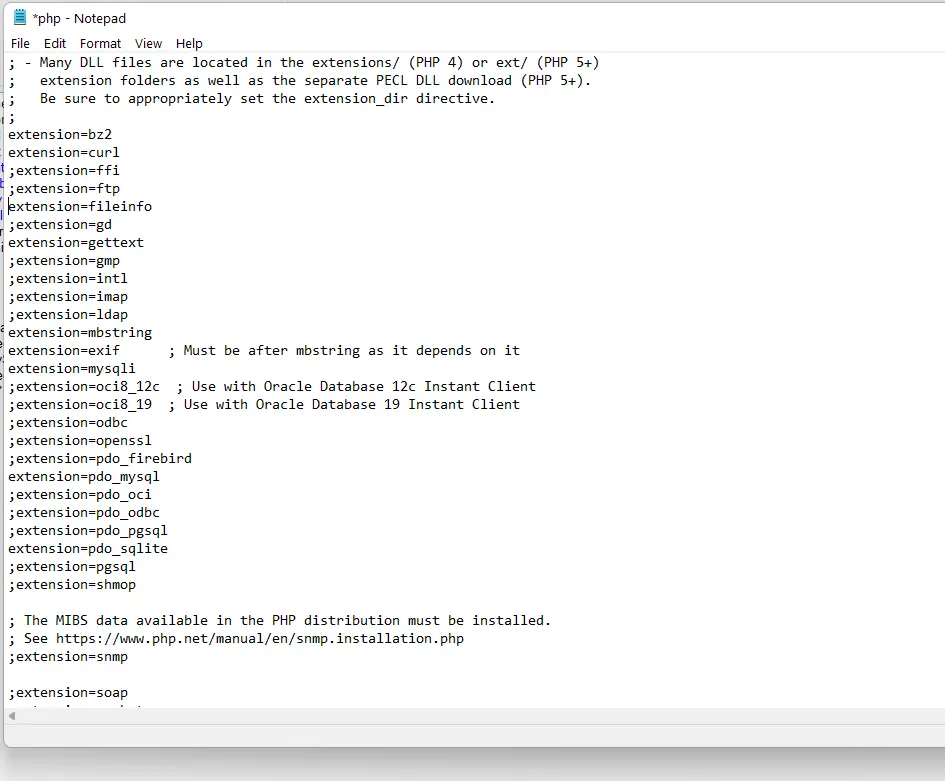
Save and close the file.
- Visit the following URL to download the GD DLL file: windows.php.net/downloads/pecl/releases/gd.
- Choose the appropriate DLL file based on your PHP version and system architecture (e.g.,
php_gd2.dll). - Save the DLL file to the
extfolder inside your PHP directory (e.g.,C:\PHP\ext).
- Open the
php.inifile again. - Add the following line to enable the GD extension:
extension=gd2
Save and close the file.
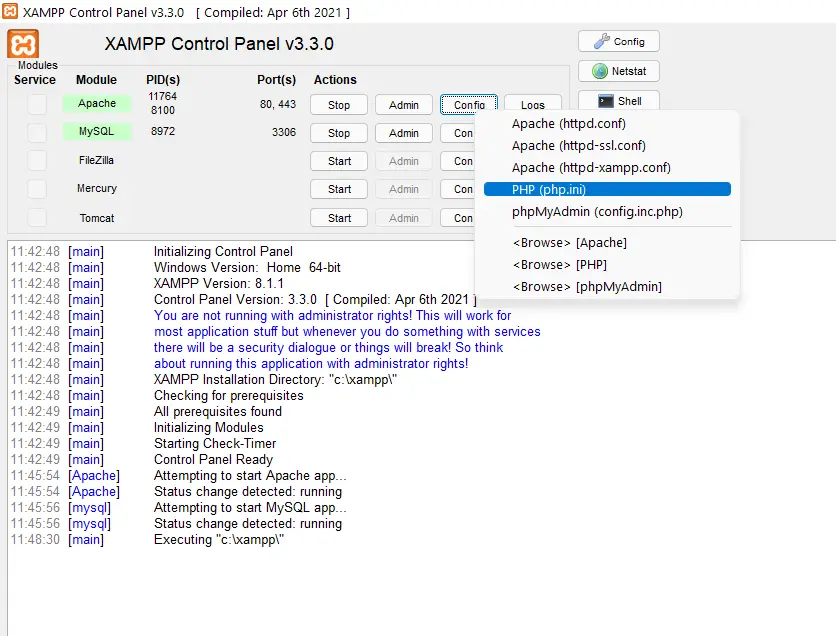
If you are using a web server (e.g., Apache or Nginx), restart it to apply the changes.
Create a PHP file (e.g., phpinfo.php) with the following content
<?php
phpinfo();
?>
- Save the file in your web server's root directory.
- Open a web browser and navigate to
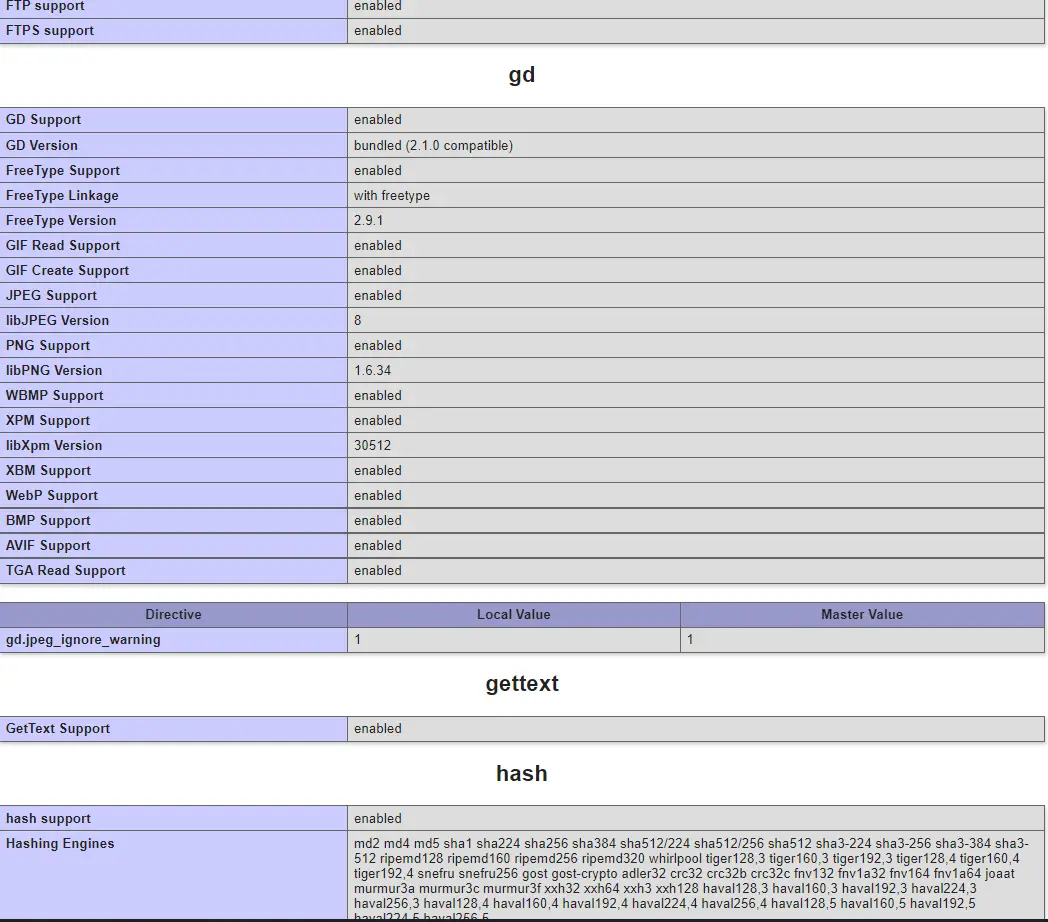
http://localhost/phpinfo.php. - Look for a section about GD in the PHP info page. If GD is listed, the installation was successful.
Congratulations! You've successfully installed PHP GD on Windows 10/11. You can now start using the GD library for image processing in your PHP applications.
You might also like:
- Read Also: How to Increase Memory Limit in PHP
- Read Also: How to Upgrade PHP 8.1 to 8.2 in Ubuntu
- Read Also: How to Install Apache with PHP-FPM on Ubuntu
- Read Also: How to Add and Remove Rows in Laravel 10 Livewire


