Laravel 12 WorkOS AuthKit Authentication
Authentication is a crucial part of modern web applications, and WorkOS AuthKit provides a seamless way to integrate authentication, including SSO (Single Sign-On), into Laravel 12.
In this tutorial, I'll show you how to set up WorkOS AuthKit authentication in Laravel 12, configure your application, and implement login functionality using WorkOS.
By the end of this guide, you’ll have a working authentication system using WorkOS AuthKit in Laravel 12.
Using WorkOS as your authentication provider requires a WorkOS account. WorkOS offers free authentication for applications up to 1 million monthly active users.
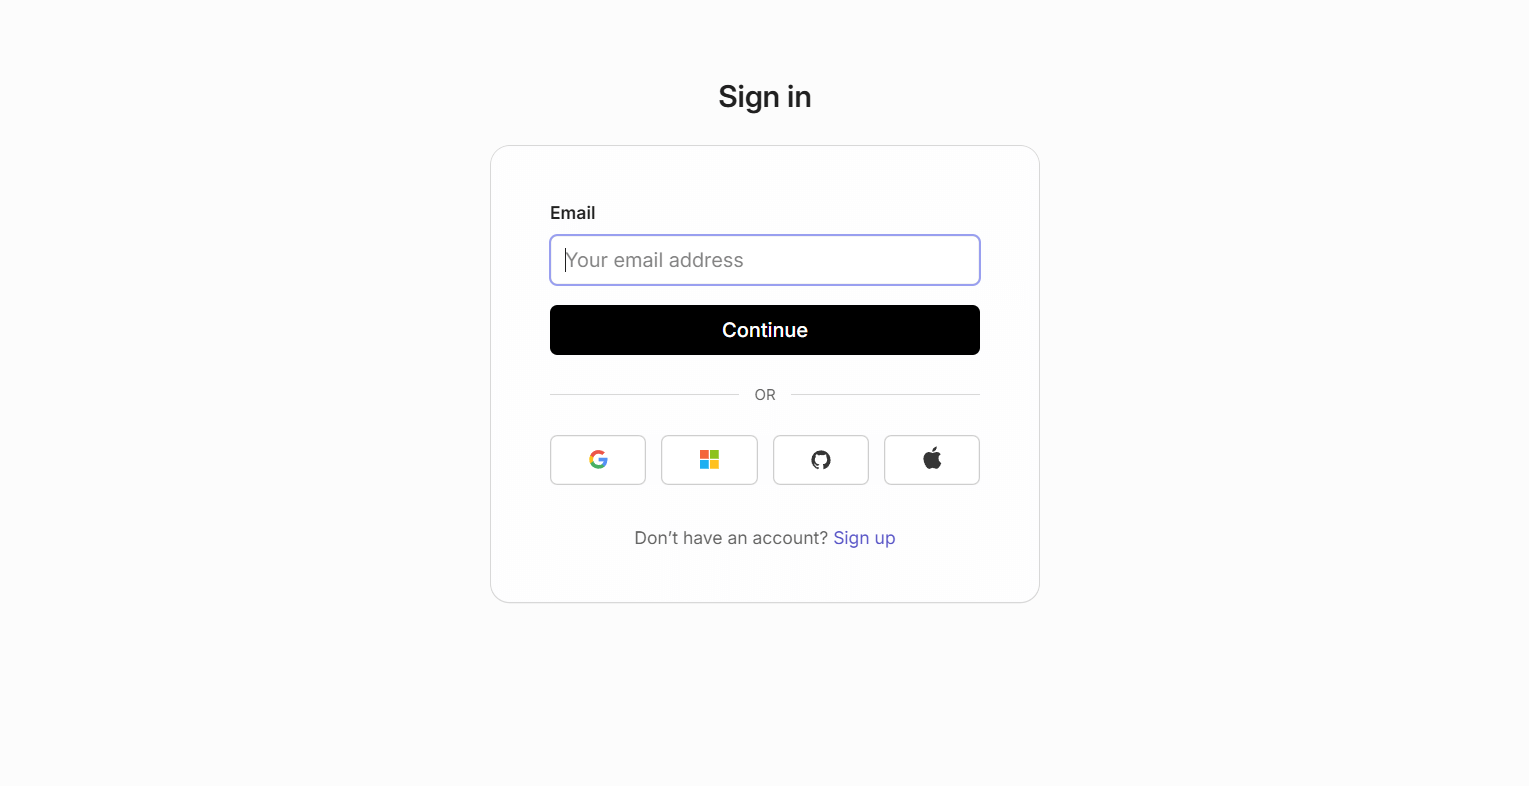
WorkOS AuthKit Provides List of Authentication Options:
- Social authentication (Google, Microsoft, GitHub, and Apple)
- Passkey authentication
- Email based "Magic Auth"
- SSO
WorkOS AuthKit Authentication Laravel 12

To use WorkOS AuthKit as your application's authentication provider, select the WorkOS option when creating your new starter kit powered application via:
laravel new
WorkOS Install

Update your env file with your WorkOS API credentials:
WORKOS_CLIENT_ID=client_XXXXXXXXX
WORKOS_API_KEY=sk_test_XXXXXXXXX
WORKOS_REDIRECT_URL="http://localhost:8000/authenticate"
In Redirects Menu, update the Redirect URI in Sign-in callback, Your app homepage URL, and Logout redirect URL.
http://localhost:8000/authenticate
In the Authentication Menu, when using a WorkOS powered starter kit, we recommend that you disable "Email + Password" authentication within your application's WorkOS AuthKit configuration settings, allowing users to only authenticate via social authentication providers, passkeys, Magic Auth, and SSO.
This allows your application to avoid handling user passwords.
Note: Also, set up User Management in the Overview tab.
In addition, we recommend that you configure your WorkOS AuthKit session inactivity timeout to match your Laravel application's configured session timeout threshold.

Now, start your Laravel server:
php artisan serve
Login Page:
Dashboard:

List of Users:

You might also like:
- Read Also: How to Customize Laravel 12 Starter Kit
- Read Also: Laravel 12 Send Email Tutorial: Step-by-Step Guide
- Read Also: Laravel 12 CRUD Tutorial: Step-by-Step Guide
- Read Also: Laravel 12 AJAX CRUD Operation: Step-by-Step Guide


